The Principles of Photgraphing 2D Art Learn How To Show Your Work’s True Impact
Have you ever been in a museum or gallery trying to look at the art while surrounded by people snapping pictures with their cameras and iPhones?
Most galleries and museums tolerate visitors’ selfie obsession, but these snapshots are rarely up to the standards that a professional artist needs. There are too many factors involved in getting professional images of art for these simple snaps to be of much use.
As a professional artist or serious amateur, you need the best possible photographs for your marketing and documentation. Images of 2D art need to be at a higher degree of color accuracy, color contrast, and sharpness than most other types of craft photography, especially when shooting images for giclée reproduction and printing.
With today’s high-quality digital cameras and phones, these images are quite doable. All you really need to do is pay attention to some basics and follow a few simple steps.
Find a Comfortable Working Height
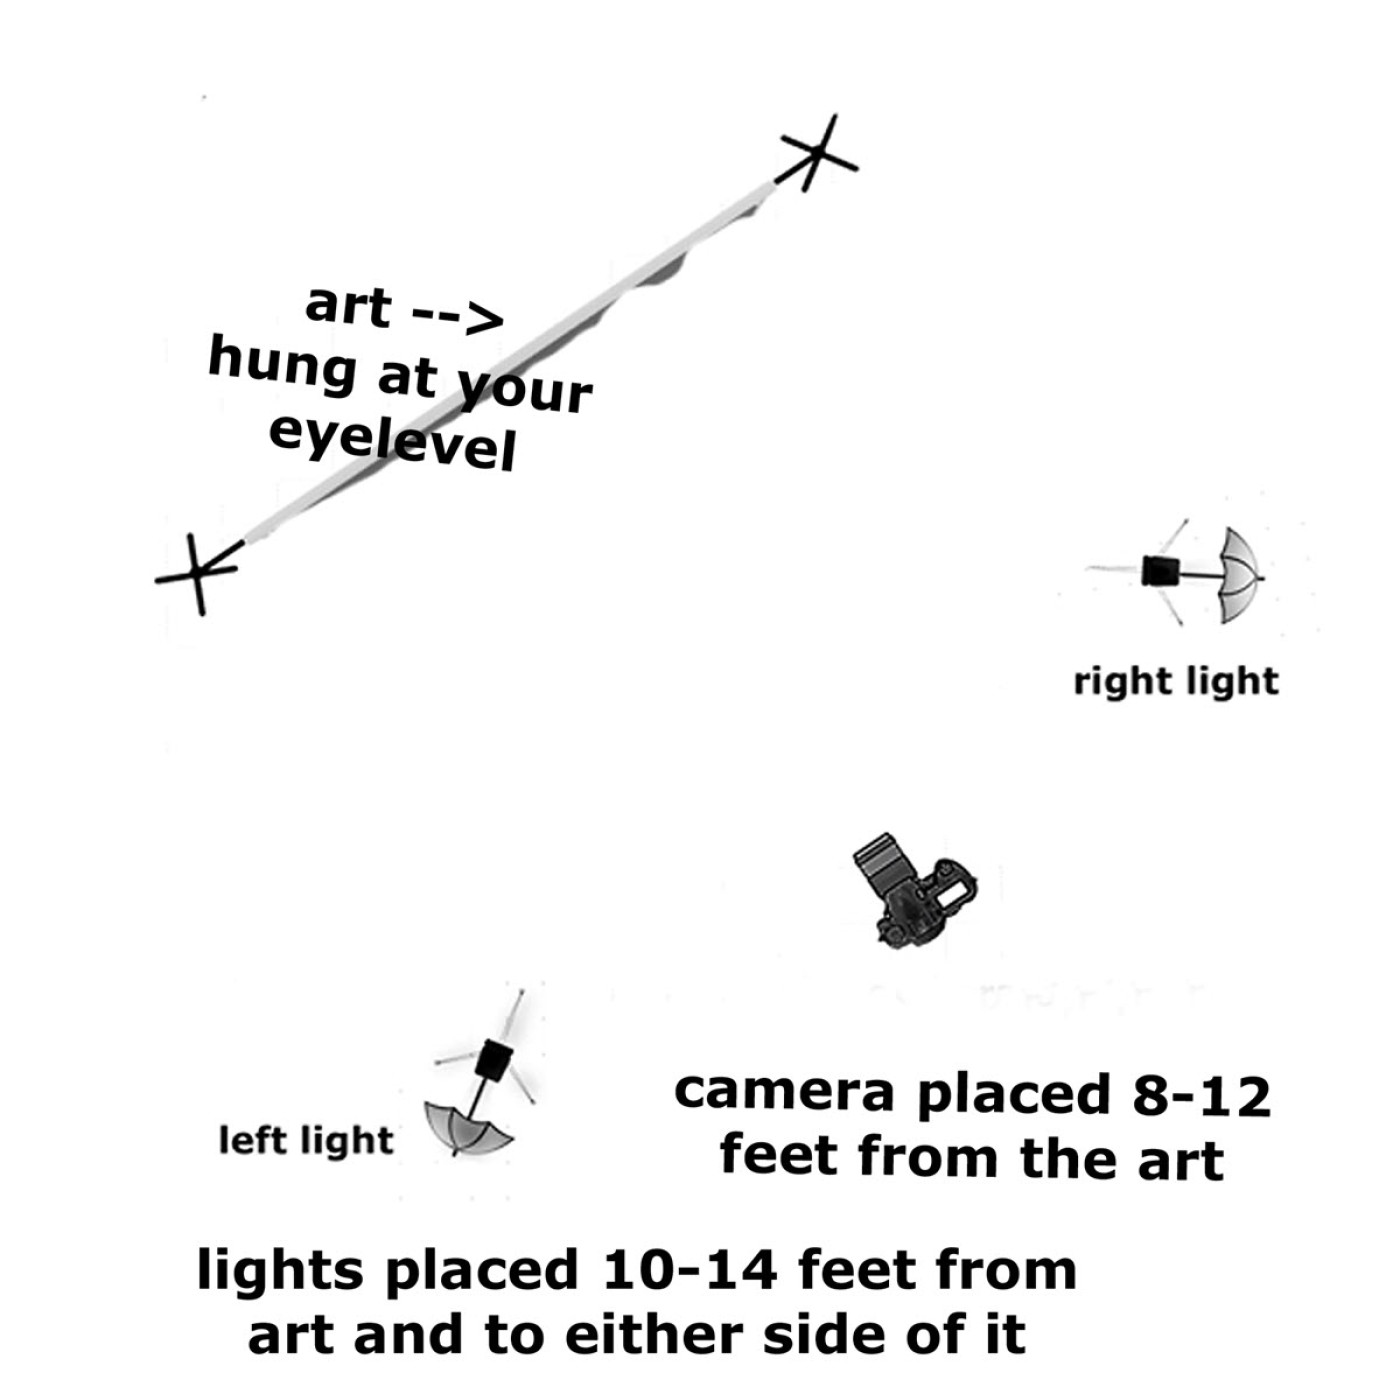
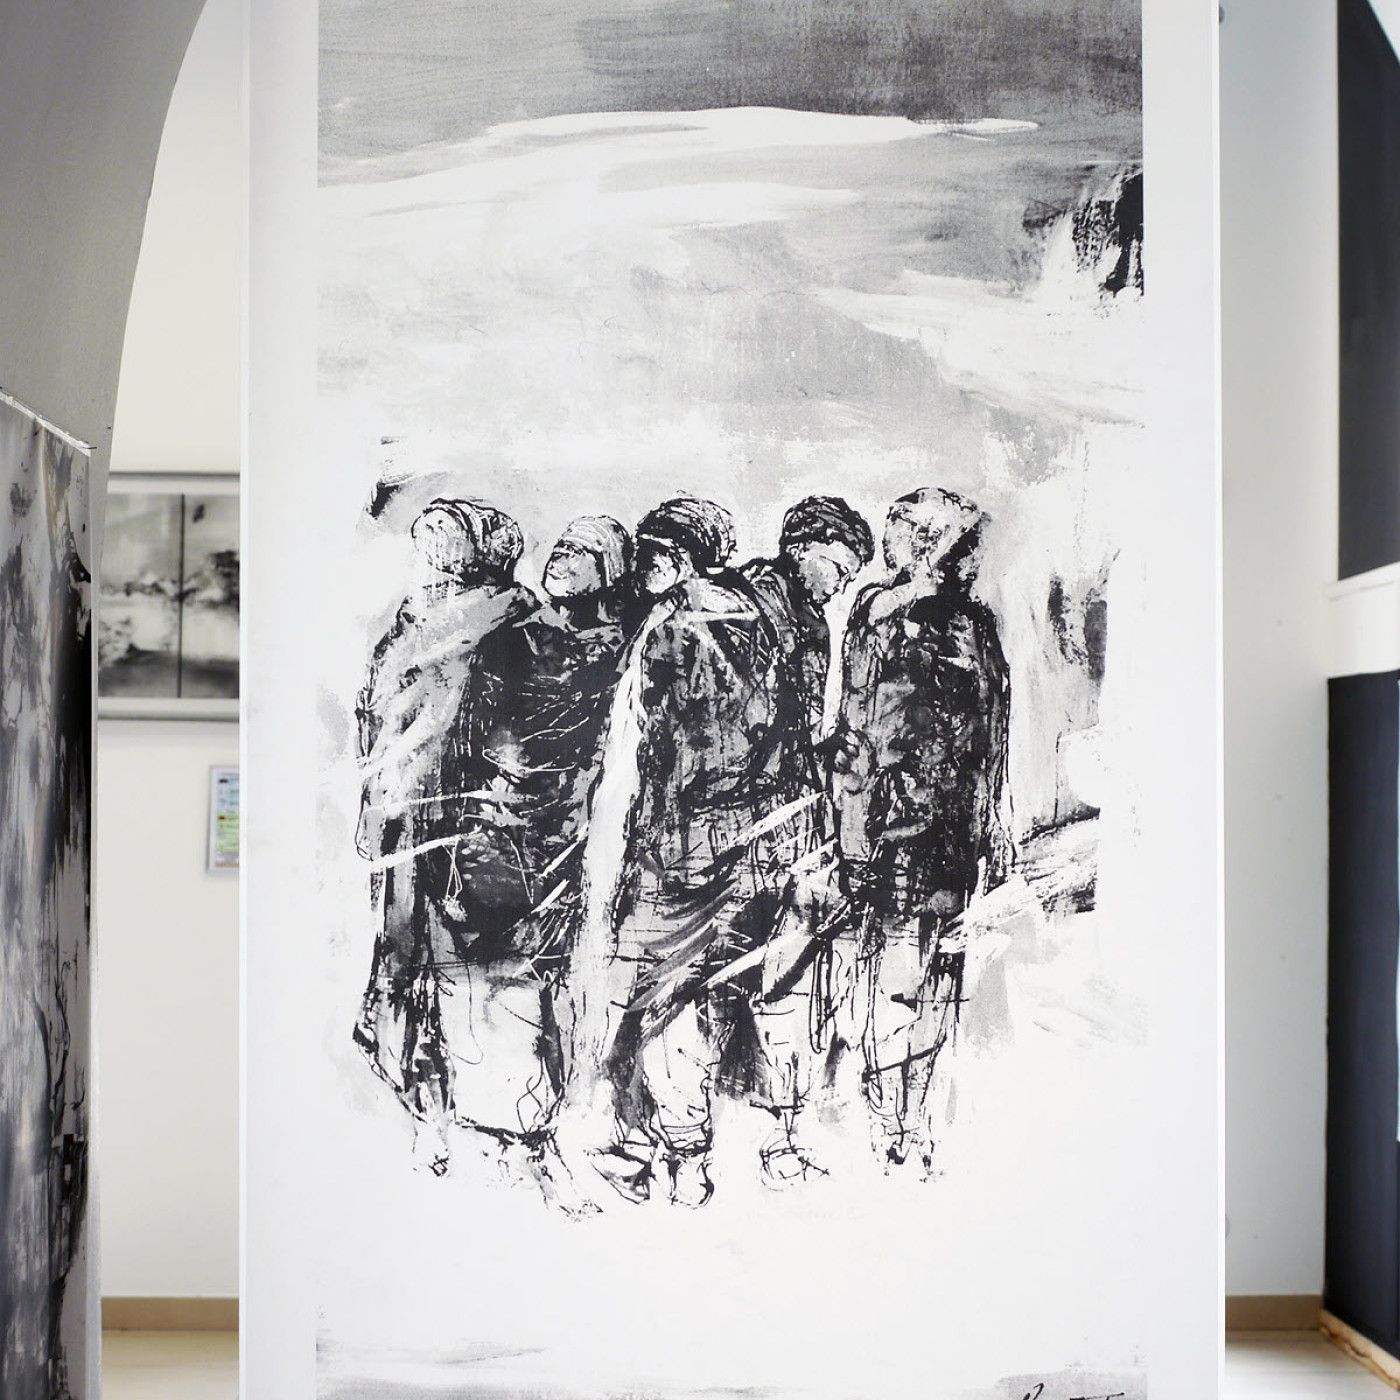
Hanging your art properly is the first step. Years ago, while working for a local art gallery, I learned the hard way that spending hours bent over a tripod takes its toll on your back.
I realized I needed to develop a working style that was easier on my body. The solution I produced was simple. All I needed to do was set all the elements of the shoot at a comfortable working height for me.
I am 6 feet tall, and my eye level is about 64 inches high. When shooting art, I usually use a tripod cranked up, so the camera lens is about 64 inches high.
Then I hang the artwork to be photographed so the center of the work is 64 inches — and try to hang the art as flat against the wall as possible. Working with the camera at eye level means I do not have to bend over to see the image on the camera back.
Of more importance, placing the camera and artwork at the same height helps you square up the art and eliminate the “keystone” effect. Keystoning makes the art look like it is falling over. It occurs when the straight lines and right angles in the painting are not parallel to the sides of the viewfinder monitor frame.
The Craziness of Format
Most 2D art is rectangular, but the proportions of artworks often do not match the formats of cameras and iPhones. Most of these devices let you choose between one of four traditional formats — 4:3, 3:2, 16:9, and 1:1.
The typical camera format is 3:2, which means the frame is a rectangle that could be 12 inches long by 8 inches tall or 24 inches long by 16 inches tall.
The task when shooting art is always to make the best fit possible. When I am shooting an artwork that does not match these proportions, I leave extra space in the image all around the art. If needed, you can crop the extra space out later.
Another trick to help “square up” images is to use the digital camera’s grid screen monitor display. Most digital cameras have a “grid screen” function that can be found in the camera or phone’s menu pages.
When you call up the “grid,” four lines — two horizontal and two vertical — appear on the monitor. Aligning the frame of the art with these grid lines makes it easier to get the art properly squared up. Best of all, the grid does not show up in the pictures you take.
The way the art is mounted and framed should also be considered, particularly with such things as photographs mounted in very wide mats or art set in large, elaborate frames. The question you face is whether to photograph the entire framed and mounted art or to zoom in and just shoot the art itself, cropping out the frame and matting.
It is your choice, and this depends upon how you sell your product. If mounting and framing are essential to your sales, then photograph the entire object. On the other hand, if they are not factors, you might do better to just focus on the whole work.
Lens and Settings
When photographing art, I get the best results using a lens of “moderate” telephoto focal length. This type of lens produces a slightly flattened image that makes art look better, and it reduces the keystone effect.
The actual focal length of a “moderate” telephoto varies by the camera’s sensor size. A moderate telephoto on a full-frame camera is 90-135mm.
On an APS-C camera, the equivalent is a 70-85mm lens, while with a mirrorless 4/3 camera the equivalent focal length is 50-70mm. To get the best corner-to-corner sharpness with these lenses, I shoot in the “A” (aperture-preferred) exposure mode and set the aperture to f/5.6 or f/8.
This ensures the art will be sharp corner to corner. When shooting art, try an ISO setting of 400 or 800. This setting works well in most situations.
Lighting Matters
When it comes to lighting 2D art, the first thing you need to do is turn off the camera or phone flash. These flashes create hotspots in the image, especially art mounted behind glass.
With the flash turned off, set the camera’s White Balance control to AWB (Auto White Balance) and take a few test frames to see what the available light produces. Review the shots on the camera monitor, looking particularly at the accuracy of the color and the uniformity of the lighting across the work. If the colors seem wrong, try another white balance setting — like daylight or incandescent.
Uniform lighting across an entire artwork is critical and if you are lucky, the ambient (existing) light in the room may do the job. To get the best control over image color and uniformity, try using artificial lighting.
If you photograph your art often, these lights can make your work easier. These days, you can purchase a complete two-light photo studio kit, made in China and sold on eBay or Amazon, for as little as $50 to $75.
Using these lights is very straightforward. You mount the lights on the light stands and attach whatever light bouncing umbrellas are provided.
Place a light on either side of the camera and raise the lights until the lamps are 12 to 24 inches above the working height you have used for the tripod and the art. Next, turn the lights on and adjust them so their circles of light overlap and cover the work.
To check the lighting, stand a pencil — pointed toward the camera — in the center of the art. The pencil should cast two shadows of the same dark tone.
If the shadows are unequal, move one of the lights until the shadows match. Now you are ready to start shooting.
The Angel, Not the Devil is in the Details
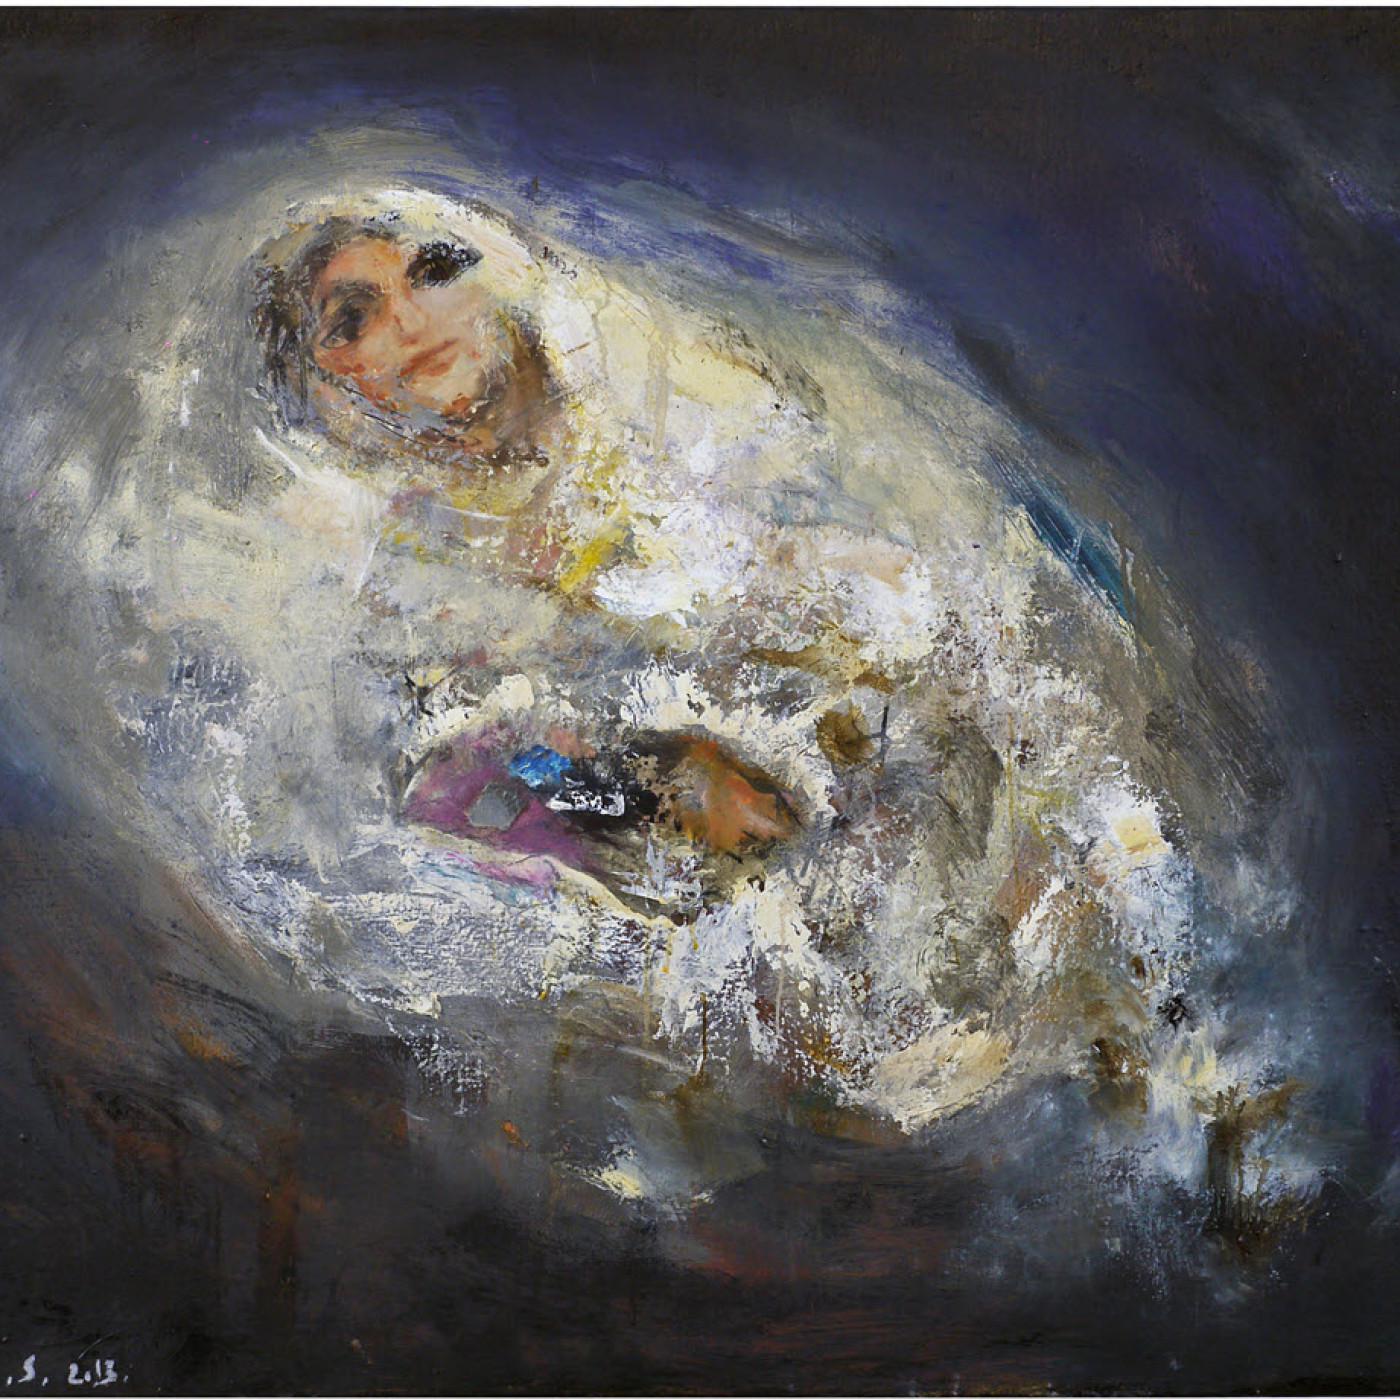
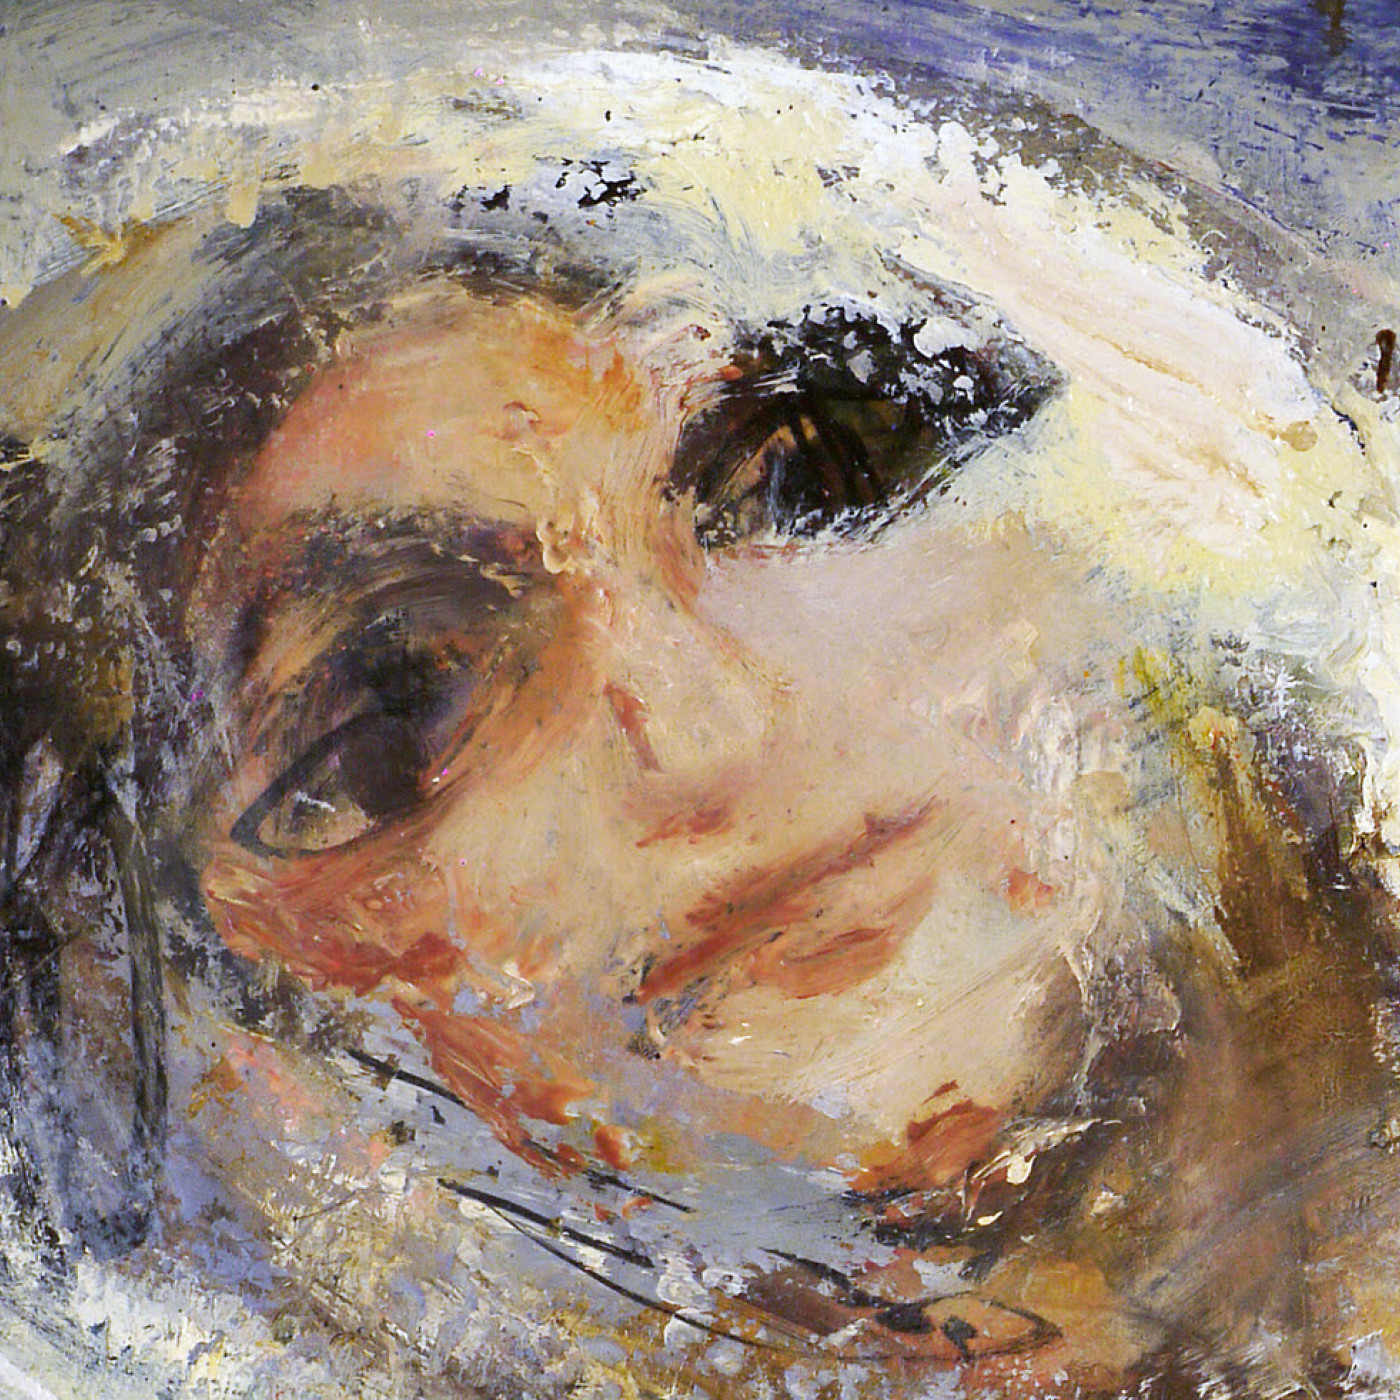
It is always a good idea to take a moment to make detail shots when you are photographing your art. These shots should accentuate important aspects of the piece and illustrate your technical skill.
For instance, things like brush strokes are generally invisible in a photograph of an entire large work. So, after photographing the art piece, move up to the art and take a few close-ups. When you do this, do not change or rearrange the lighting.
In most situations, these steps produce professional-quality images of your 2D art. If you have editing software, you can tune the color and contrast of the images even more finely. After all, the higher the quality of your images, the more potential clients will be impressed and make purchases.
Steve Meltzer is a writer and photographer currently roughing it in the south of France. His photographic journey began 35 years ago when he had the good fortune to attend workshops with photographers such as Cornell Capa, Duane Michals, and Oliver Gagliani. Meltzer has written for publications as diverse as The Seattle Times, Popular Photography, New Awakenings of Lagos, Nigeria. Business clients have included Helly Hansen sportswear, Starbucks, and Boeing.