The Worst-Case Scenario Why Photo Documentation Is Critical
A while ago, I wrote an article about the need to photograph your artwork and studio in the event of something like a burglary or home disaster. The thrust of that piece was to make sure you had backup files of your work in a safe space.
Over the last year, wildfires, tornadoes, hurricanes, and atmospheric rivers of rain have wiped out entire communities. Documentation and preservation have taken on a meaning far beyond backup. In the face of global climate change and the increase in natural disasters, recovery in the aftermath of such a calamity can be difficult.
Insurance is supposed to make us whole after a loss. But in the face of these calamities, an up-to-date photographic record of all your assets makes proving your losses go more easily.
Many people seem to have an “it will never happen to me attitude.” But given the disasters we see happening all around us, it certainly is time to get serious and try to protect yourself.
Establish Location and Structures
I would start the documentation process by photographing such things as your studio, shop, cars, and home. For this task, I would use the widest wide-angle lens you have on your phone or camera and shoot the whole structures.
Be methodical and shoot more photos than you need. I shoot digital images rather than film because I can play back my shots as I take them and make sure I have what I need.
Digital image files also contain “EXIF” files that record the time, date, and often GPS data for each photograph. This embedded information can help an insurance adjuster or government agency more quickly assess your claim.
Shoot these exterior shots about 30 to 40 feet from each corner of the building, so you get the whole structure. Also photograph free-standing structures, such as sheds, garden art, and any other crucial details. I prefer to shoot exteriors on overcast days when the light is softer, and shadows are not as deep.
Once the exterior is done, move inside. Go into each room, stand in one corner, and take a few frames with the wide-angle lens. When shooting indoors, you need to set the camera’s ISO speed to 800 or 1000, which allows you to handhold the camera and get sharp images. If you have a tripod, use it — or just brace yourself against a wall or table for more stability.
Next, switch from the wide-angle lens (or a wide setting on a zoom lens) to a more general normal lens. That would be a 45 to 50mm lens on a full frame camera or a 20 to 30mm lens in 4/3 format or APS-C.
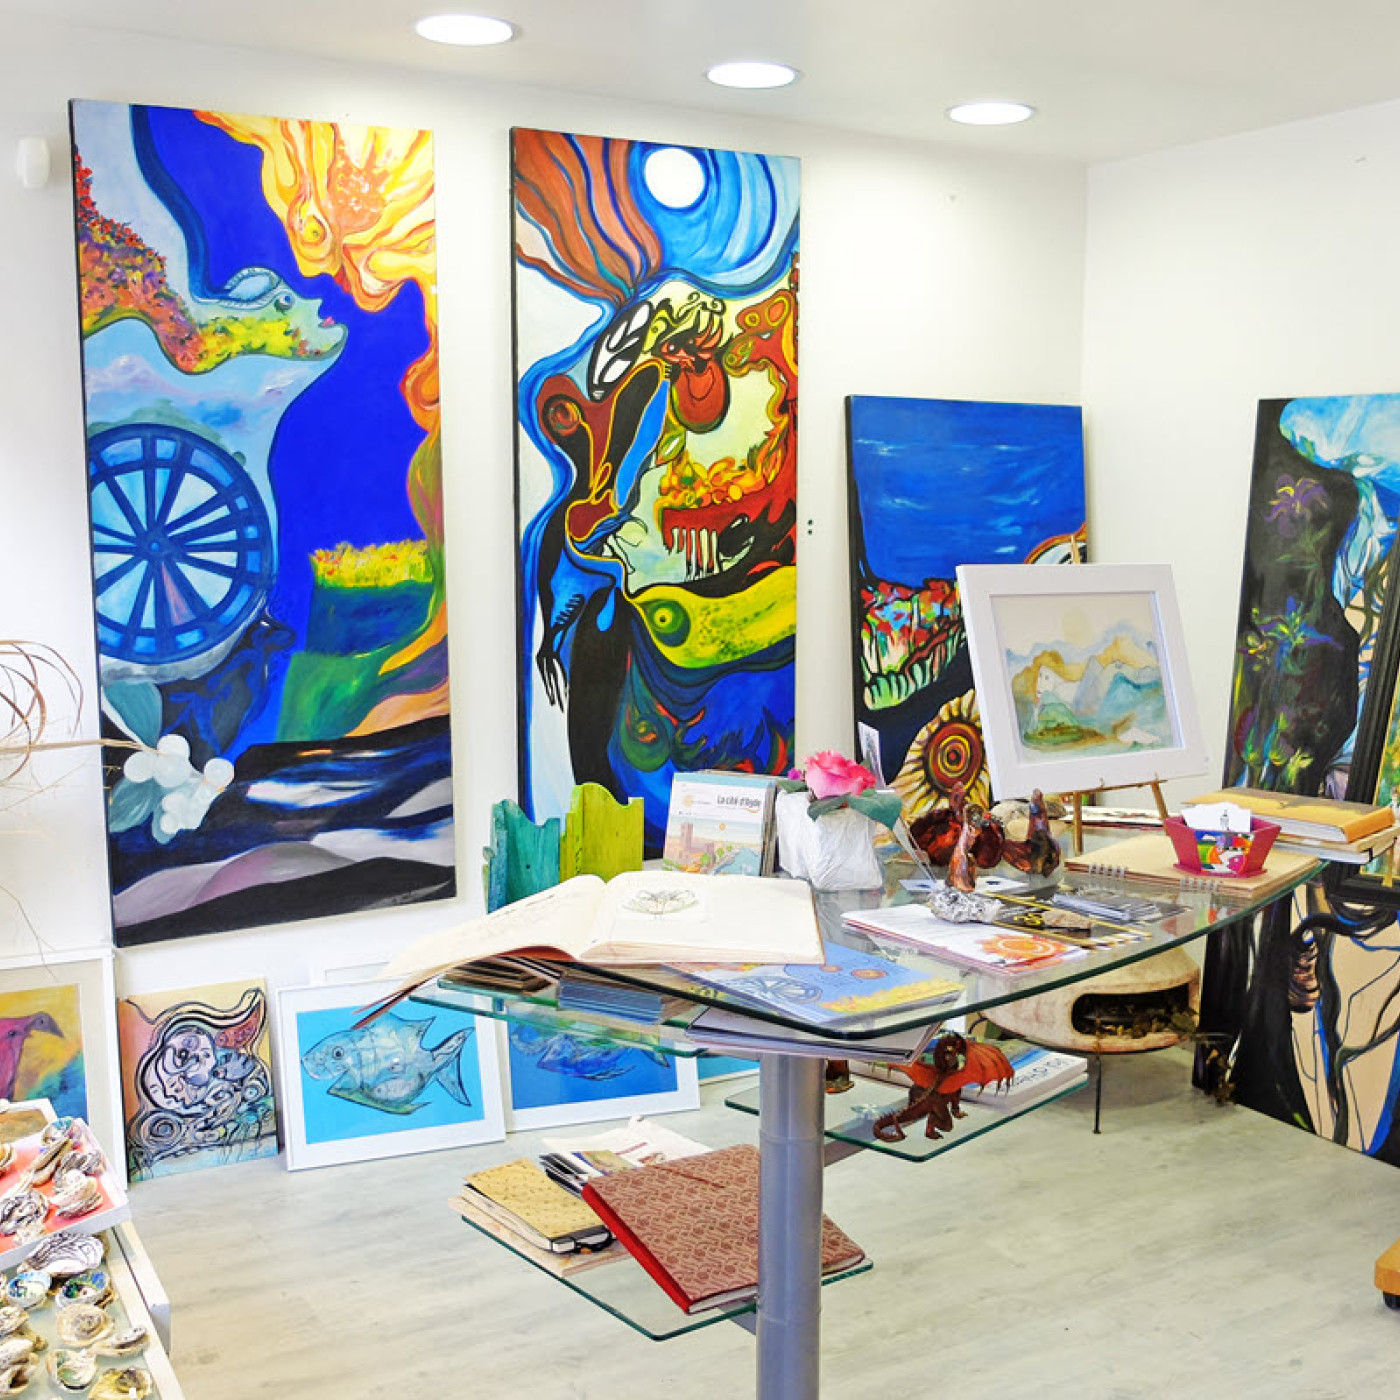
Take pictures of the major items in each room, such as furniture, appliances, electronics, etc. In your studio, photograph your art, as well as your tools, supplies, and work areas. While this may seem time consuming — and it is — the more complete the documentation, the better the chance of getting paid adequately for a loss.
With your artwork, if you have particularly important pieces, photograph them individually. For stocks of ordinary work, shoot pieces in groups of four or five.
If there are items you make in multiples like mugs, earrings, or belts, photograph them in larger groups. Remember, these do not have to be jury-quality photos — simple, clear images of what you make and how much you have on hand.
To facilitate taking photos of smaller objects like jewelry, I set up a quickie tabletop studio, as I described in several previous columns. I place a small table near a large window, taking advantage of the natural light and trying to use the camera flash as little as possible.
For a background, I stick a large piece of poster paper to a wall with a reusable adhesive and make sure at least half the background paper rests on the tabletop.