How To Photograph Form Capture the Feel of Art With These Tips
Photos courtesy of Steve Meltzer
Handcrafts are high-touch art, and they need to be held in one’s hands to be truly appreciated. But you cannot hold an object you see in a photograph to get a feel of its texture and weight.
To convey these qualities, the photographer must apply a whole set of visual techniques to provide the viewer with clues about the subject’s physical attributes. For the emphasis of an object’s form, you need to arrange your lighting as side lighting. To do this, you place the main light source on either side of the object.
A frontal light — like a phone flash or one of the new popular ring lights — tends to flatten form instead of revealing it. Side lighting creates shadows on the surface of an object, and as you can see from the images, these shadows define shape.
Giving objects a feeling of three-dimensionality is done through the combination of lighting, the background, and the object’s position. To illustrate this, I sought the help of my friend François Siffre.
A third-generation potter, Siffre uses his family’s traditional ceramic techniques to create stunning faïence art. I chose his work because the gleaming white surfaces, intricate forms, and detailed surface patterns make the photography of faïence especially challenging.
Consider Your Lighting
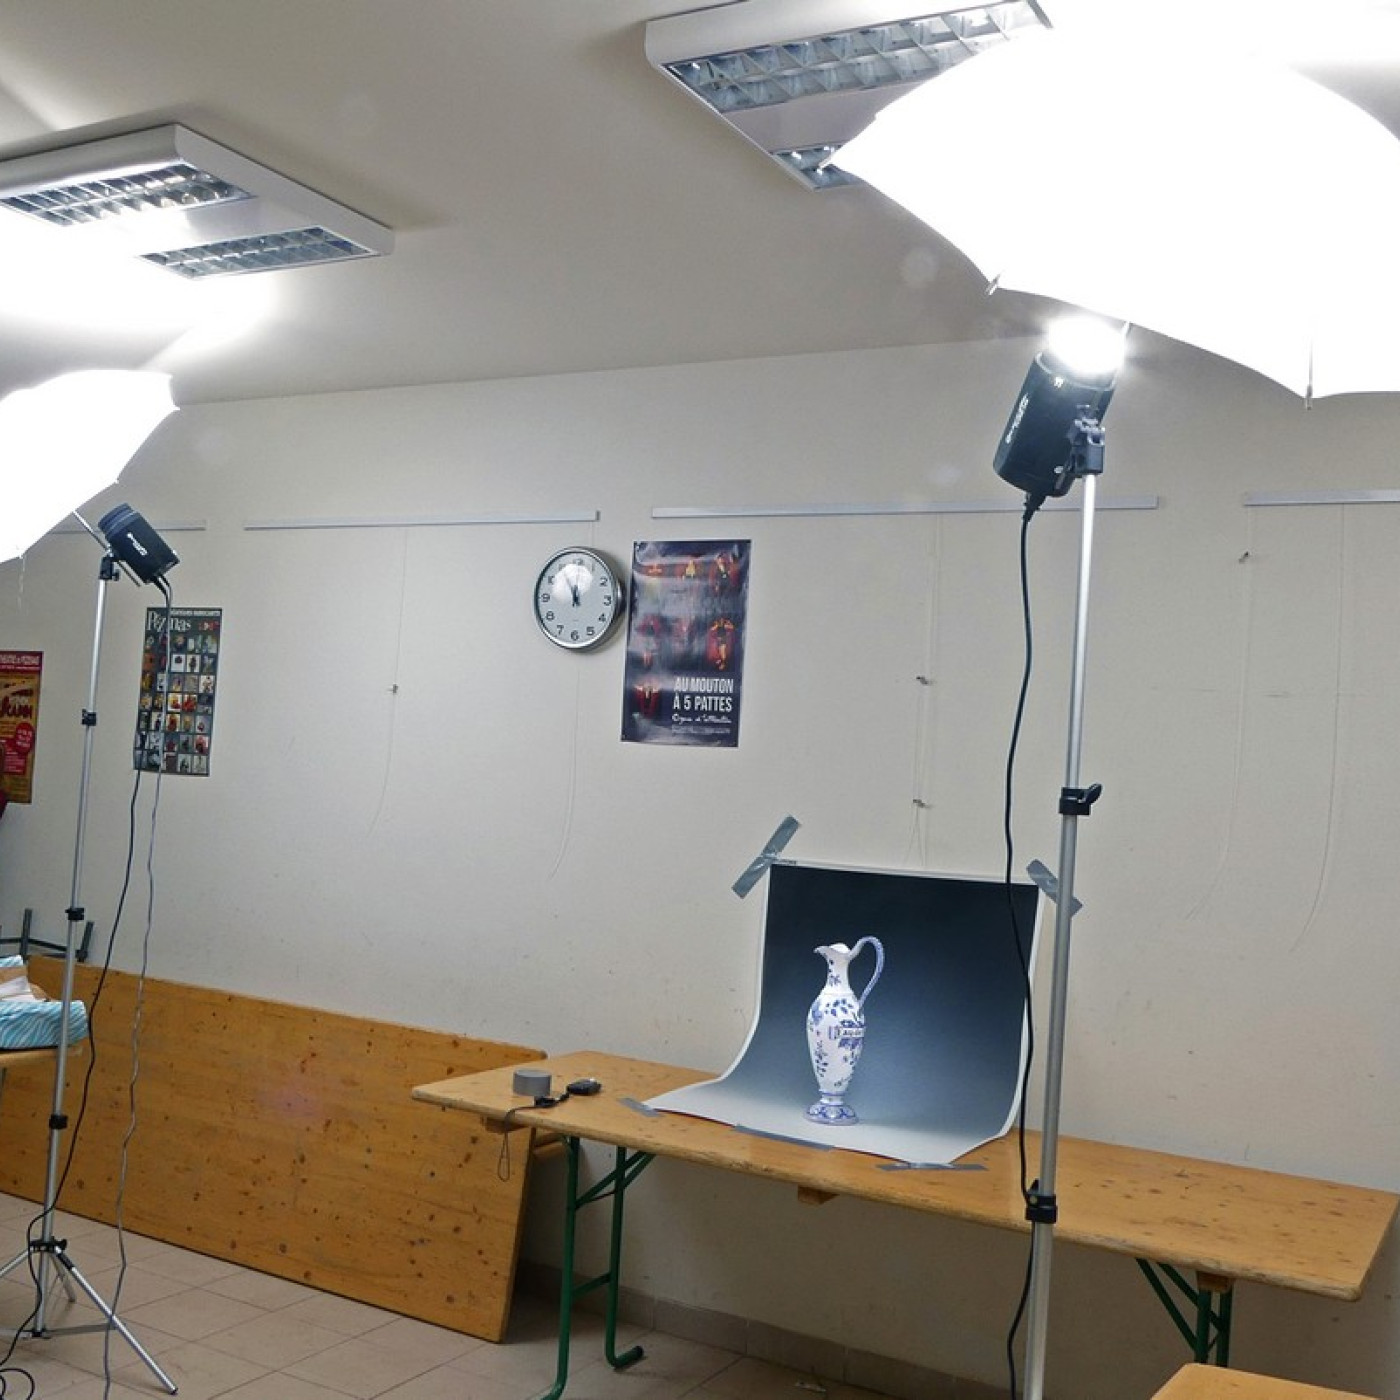
How a piece is lit is key to telling the story of its physicality. I shot these faïence pieces with studio lighting, but you do not need a studio setup to photograph artwork. Simple floodlights or even window daylight will work as long as you are conscious of having the light come from one side of the work to produce some shadowing.
Because Siffre’s pieces are highly glazed and reflective, I had to soften and diffuse the light to avoid getting glare and hot spots on their surfaces. To accomplish this, I set my two lights far apart from the faïence vase.
Glare and hot spots are reflections of the lights, and by moving the lights away from the work, the spots become smaller. By also bouncing the lights off translucent white photo umbrellas, I softened them even more.
Although I wanted to diffuse the light to reduce hot spots, I did not want to eliminate them entirely. A bit of glare is needed to show the piece is shiny and reflective.
Unbalance the Lights
As you see in the photo of my impromptu lighting studio, there are lights on either side of the vase but at different distances. This means more light reaches the object on one side, making it brighter than the other side. This difference in intensity will create shadows on that darker side, giving shape to the object.
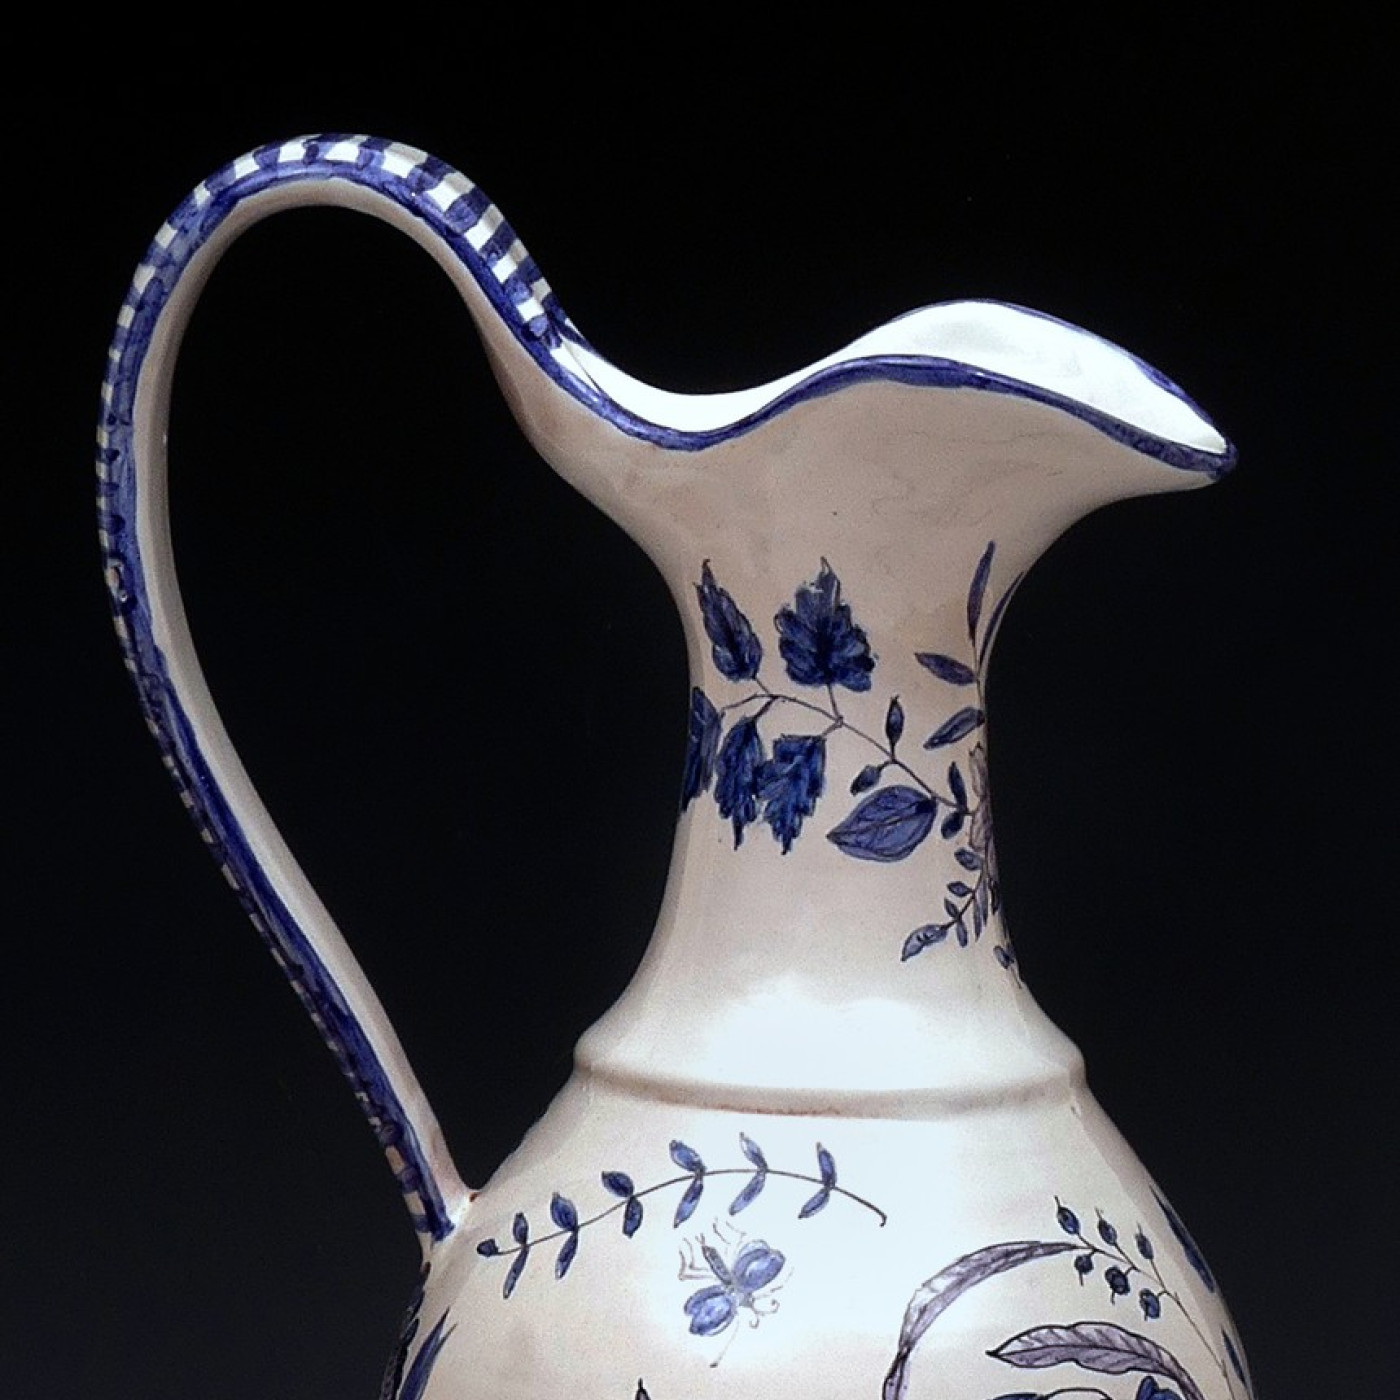
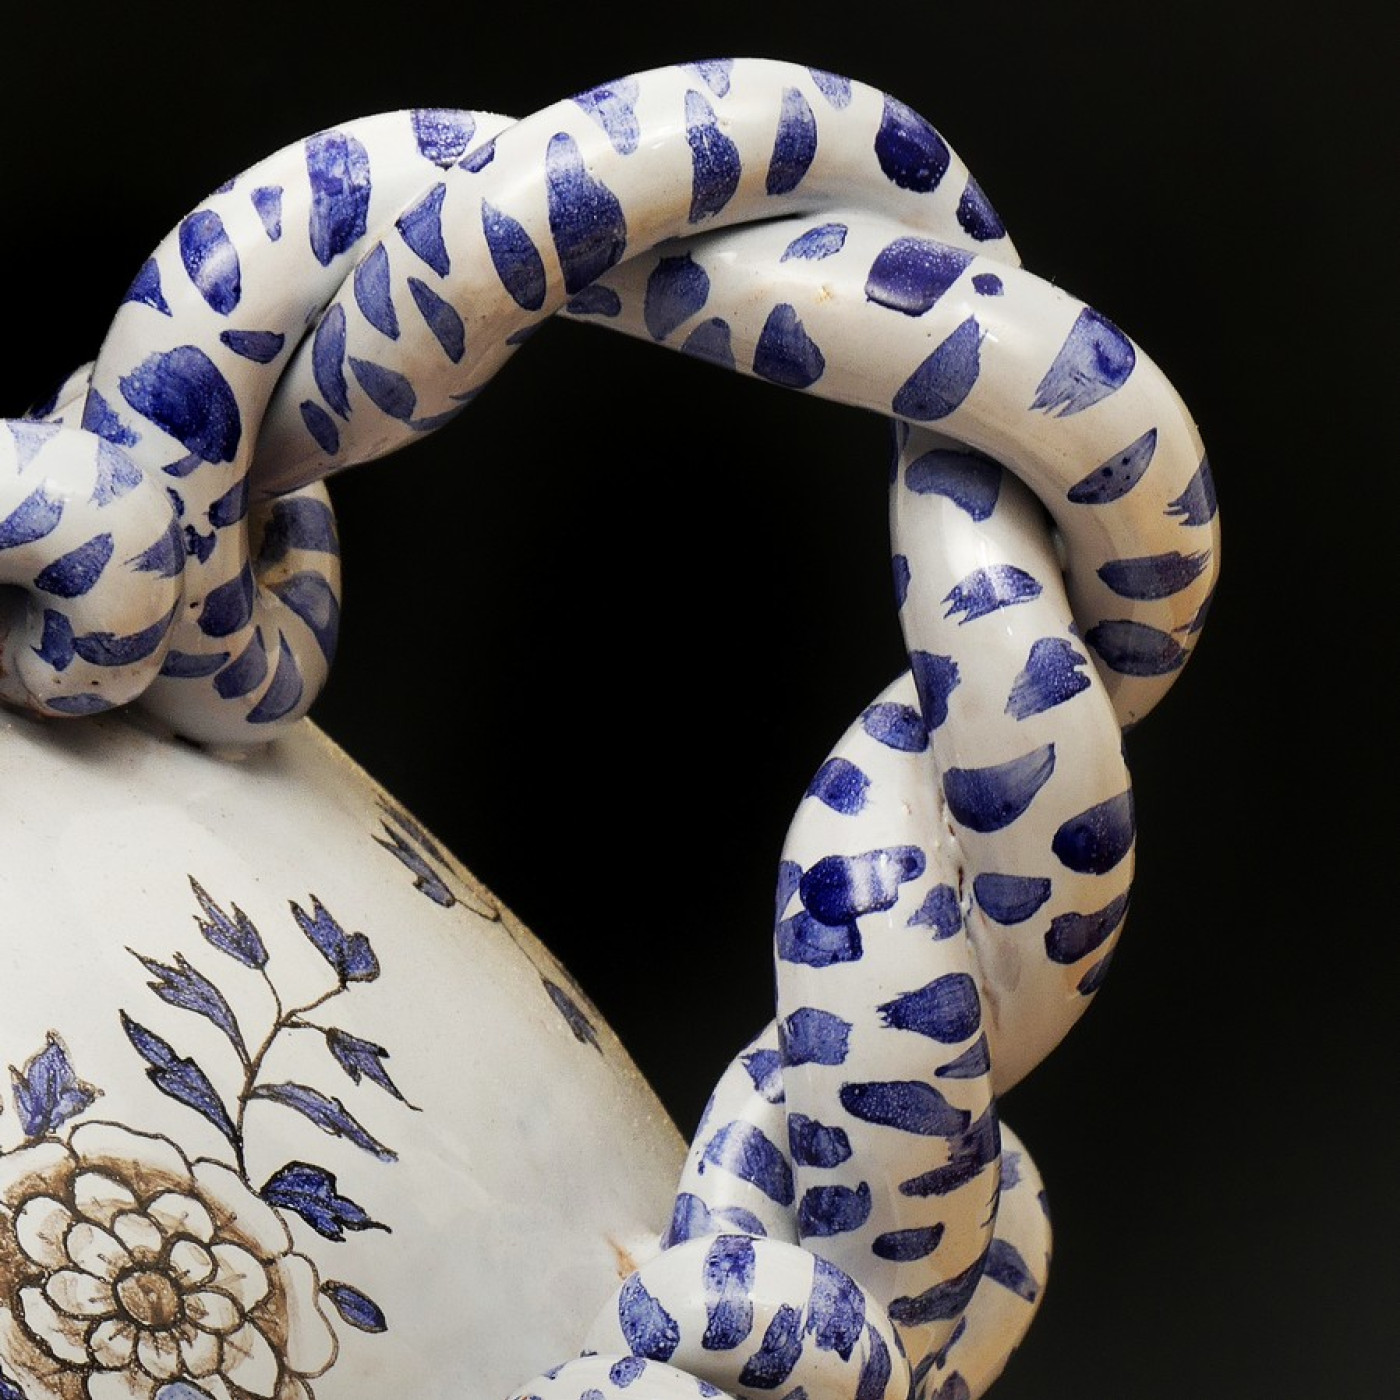
You can see how all this works in the picture of the jar handle. The diffused light produces small hot spots, and the light imbalance produces soft shadows. Together, they emphasize the shape of the intertwined parts of the handle.

Strike the Best Pose
The angle from which an object is viewed and photographed is important in establishing its shape in a photograph. When photographing crafts, I always take several shots of the object from different angles to get the best shot.
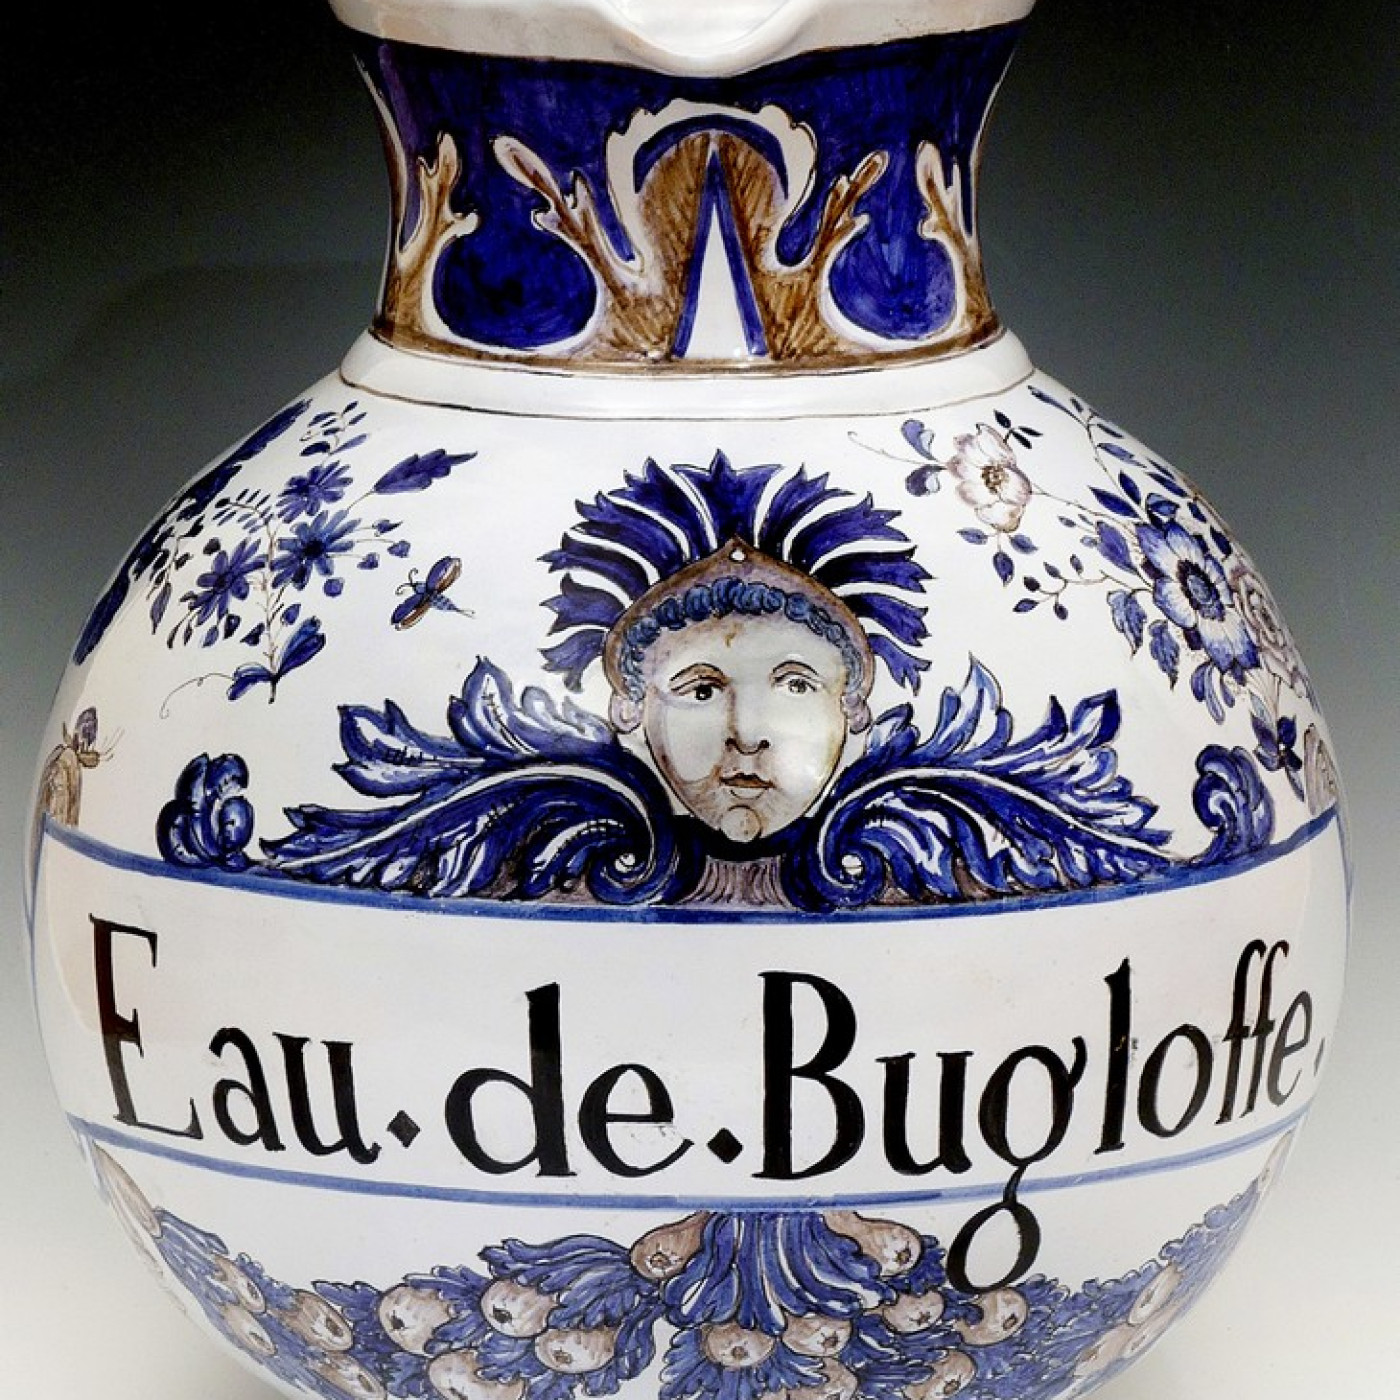
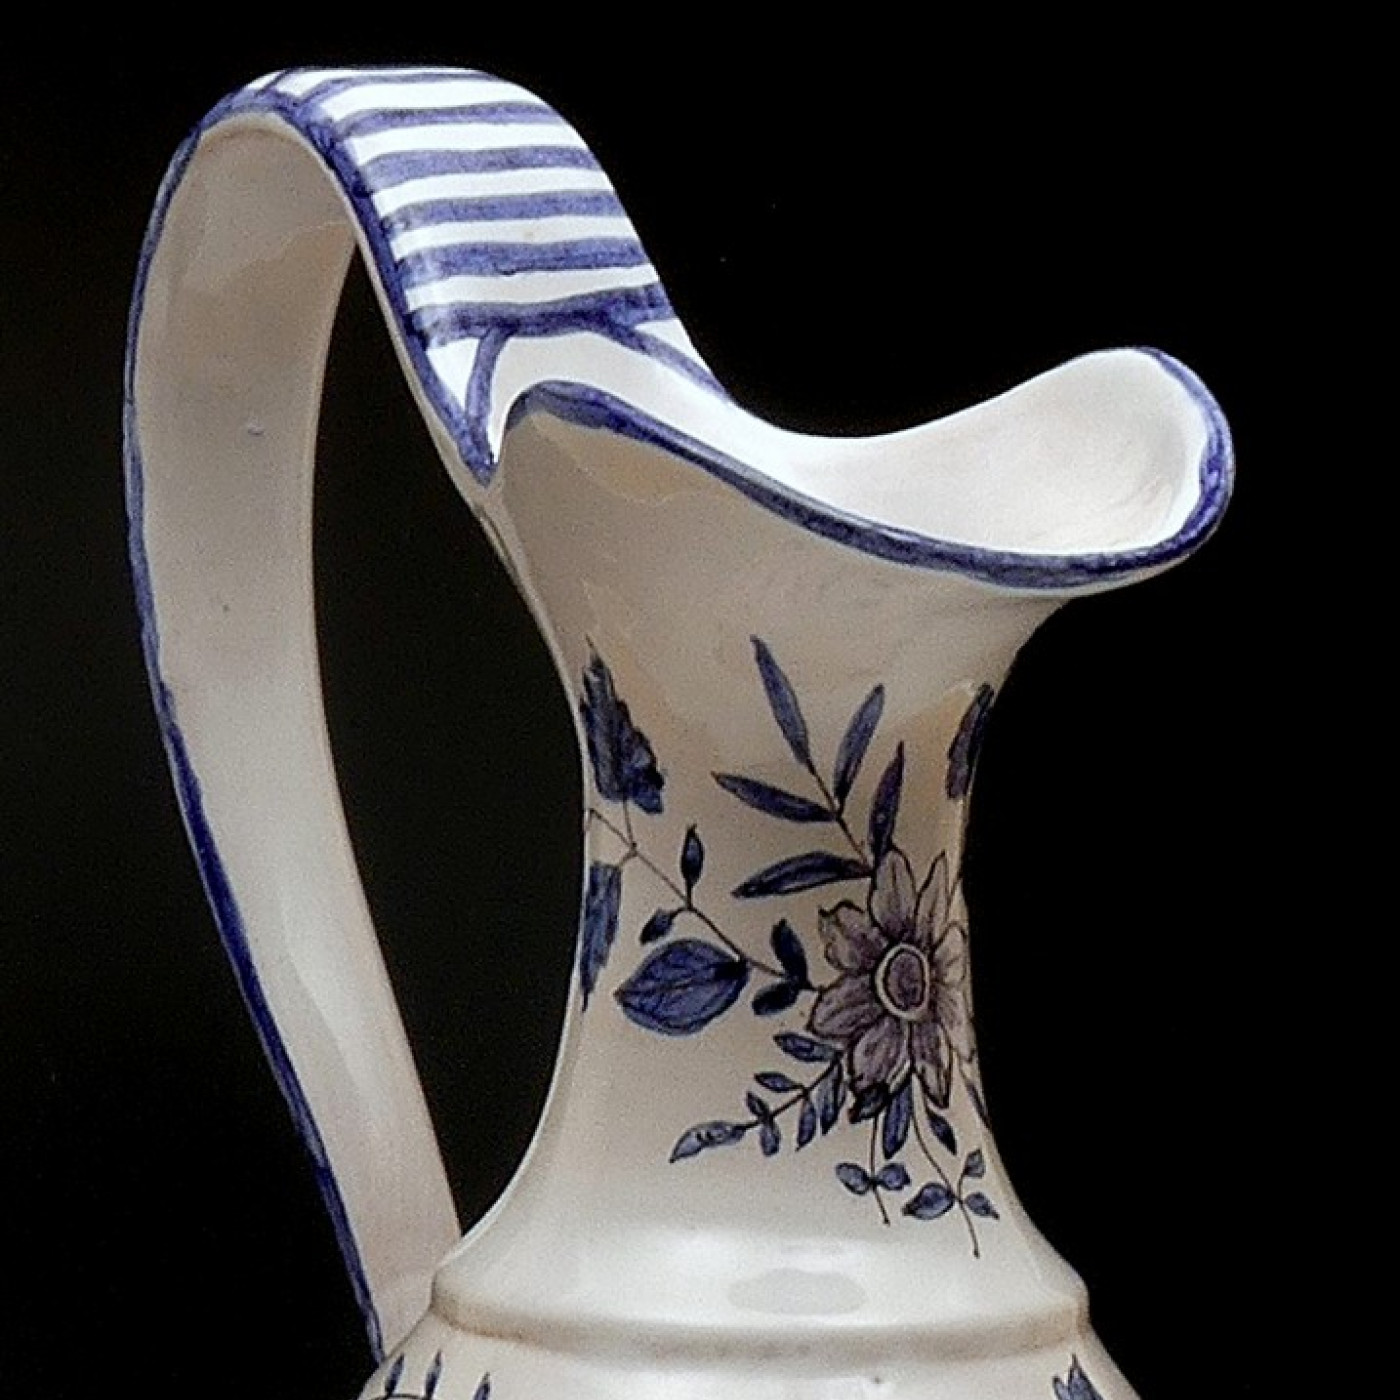
The photos of the tall pitcher show you just why I do that. There is a frontal shot of the head of the pitcher, and you can see how the shape is flattened. (It is the same flattening produced by the built-in flash on your phone or camera.)
So, I turned the piece a little away from the front and experimented with it in different positions. I took a profile shot, which seemed a little better, and then I turned the pitcher to a position between these two and got another image. This illustrates how big differences can come from small changes in the placement of the work.
Use Various Backgrounds
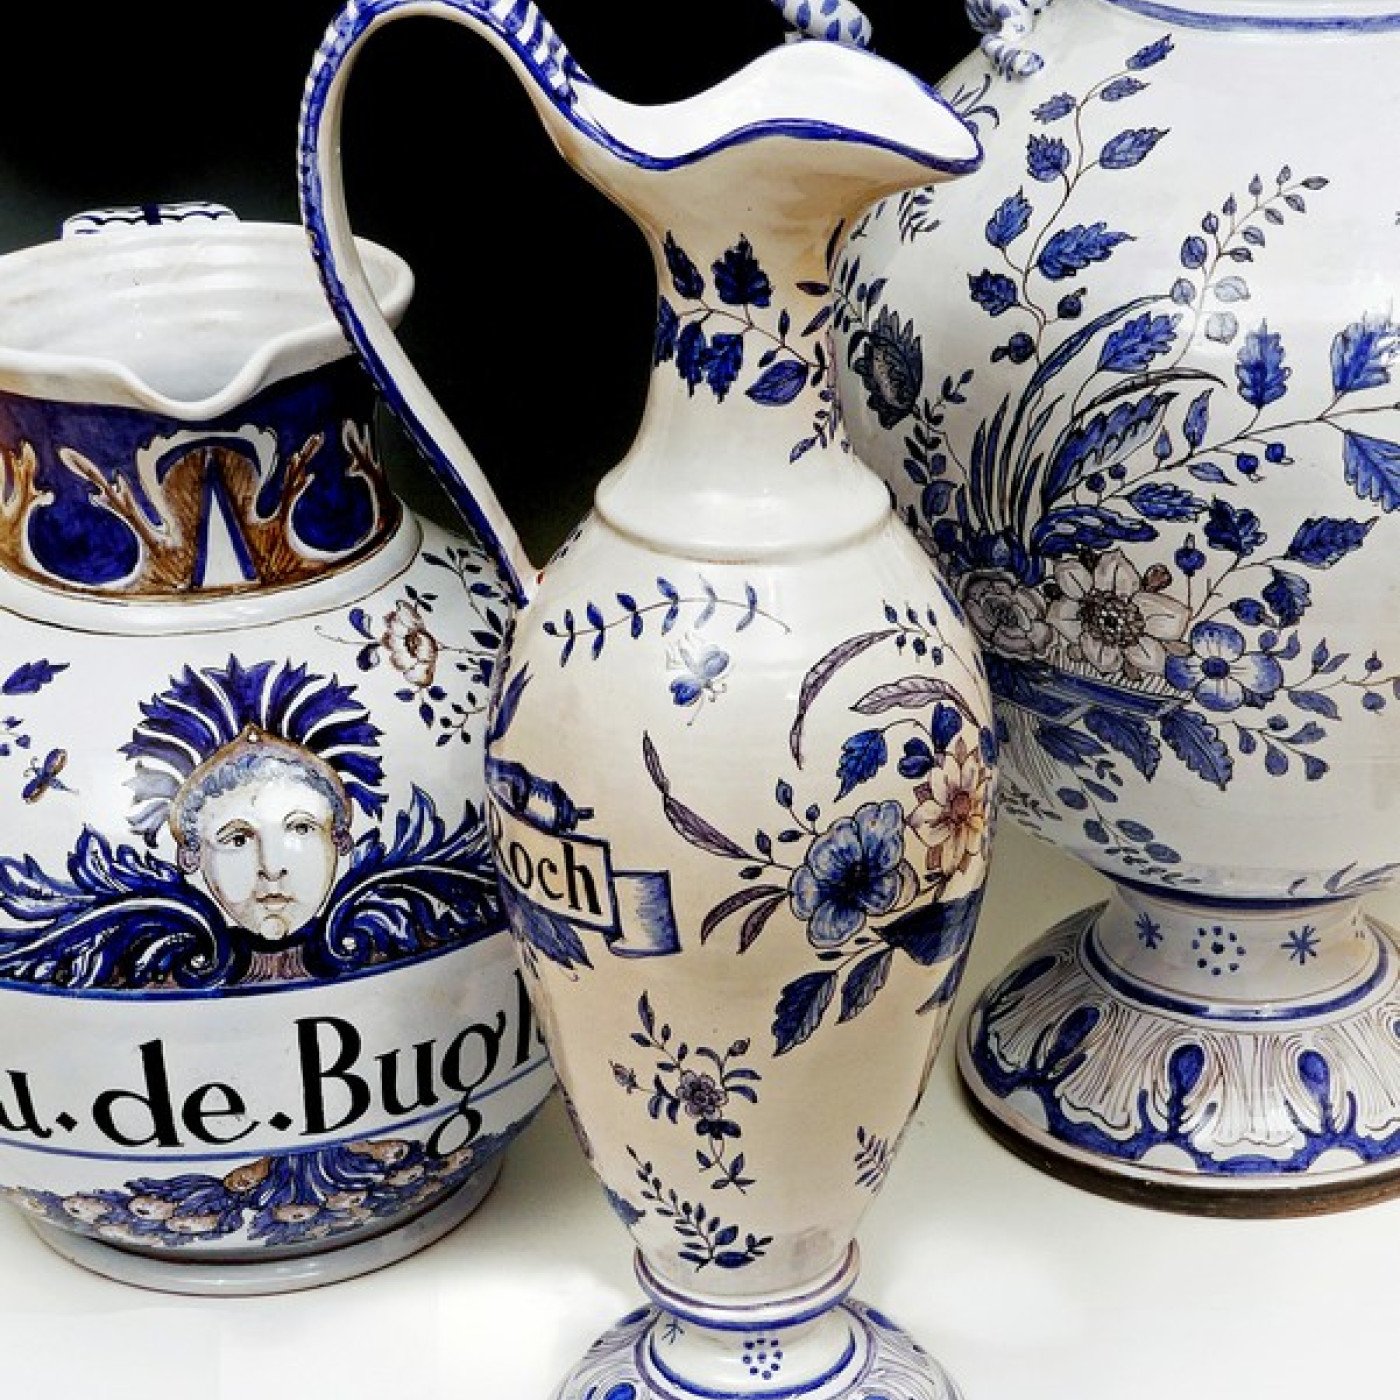
I like shooting crafts on seamless background paper because it eliminates distractions and focuses the viewer’s attention on the work. One of the things to consider when selecting and using background paper is the contrast between the paper and the craft.
When a dark-toned or richly colored object is placed on a light- or white-colored background, it will appear to recede from the viewer. On the other hand, when the same object is placed on a dark background, it will appear to jump off that background.
A continuous tone, graduated or “gradient” background paper goes from black to white and is particularly useful for photographing art. I used a graduated background when photographing these faïence vases. It adds a sense of drama and importance to the subject.
Take some time to look at the photos in this article and try to understand how all the elements work together for the best presentation of a 3D object in a 2D image.
---
All in the Family
Faïence is glazed earthenware that was first developed in the Middle East around the ninth century. Potters discovered that adding an oxide of tin to the slip of a lead glaze produced a white surface suitable for decoration.
Today’s name for the work — faïence — is a mispronunciation of the northern Italian town of Faenza, where it was first produced in Europe.
The popularity of faïence in France can be traced back to the end of the 17th century when King Louis XIV, desperate for cash to pay for his endless wars, confiscated and melted down all the silver plates and silverware in his realm. Without metal plates to eat on, the aristocracy turned to faïence.
By 1725, the demand for this pottery was so great that a “royal” factory was created in Montpellier, France, to produce it in vast quantities. At its peak, the factory employed more than 300 craftspeople, and Francois Siffre is a direct link to those generations of Montpellier artists.
Siffre’s family business began in the late 1940s when Paul Artus created a studio. He was joined in 1957 by his son, Pierre, and in 1967 by Siffre’s father, Henri (Artus’ son-in-law).
From a very early age, Siffre worked in the family workshop and then continued his training with an accredited, formal apprenticeship. In 1996, he opened his own studio in Montpellier. Several years ago, he moved his atelier to the historic — and very touristic — medieval town of Pézenas, which is where I met him.
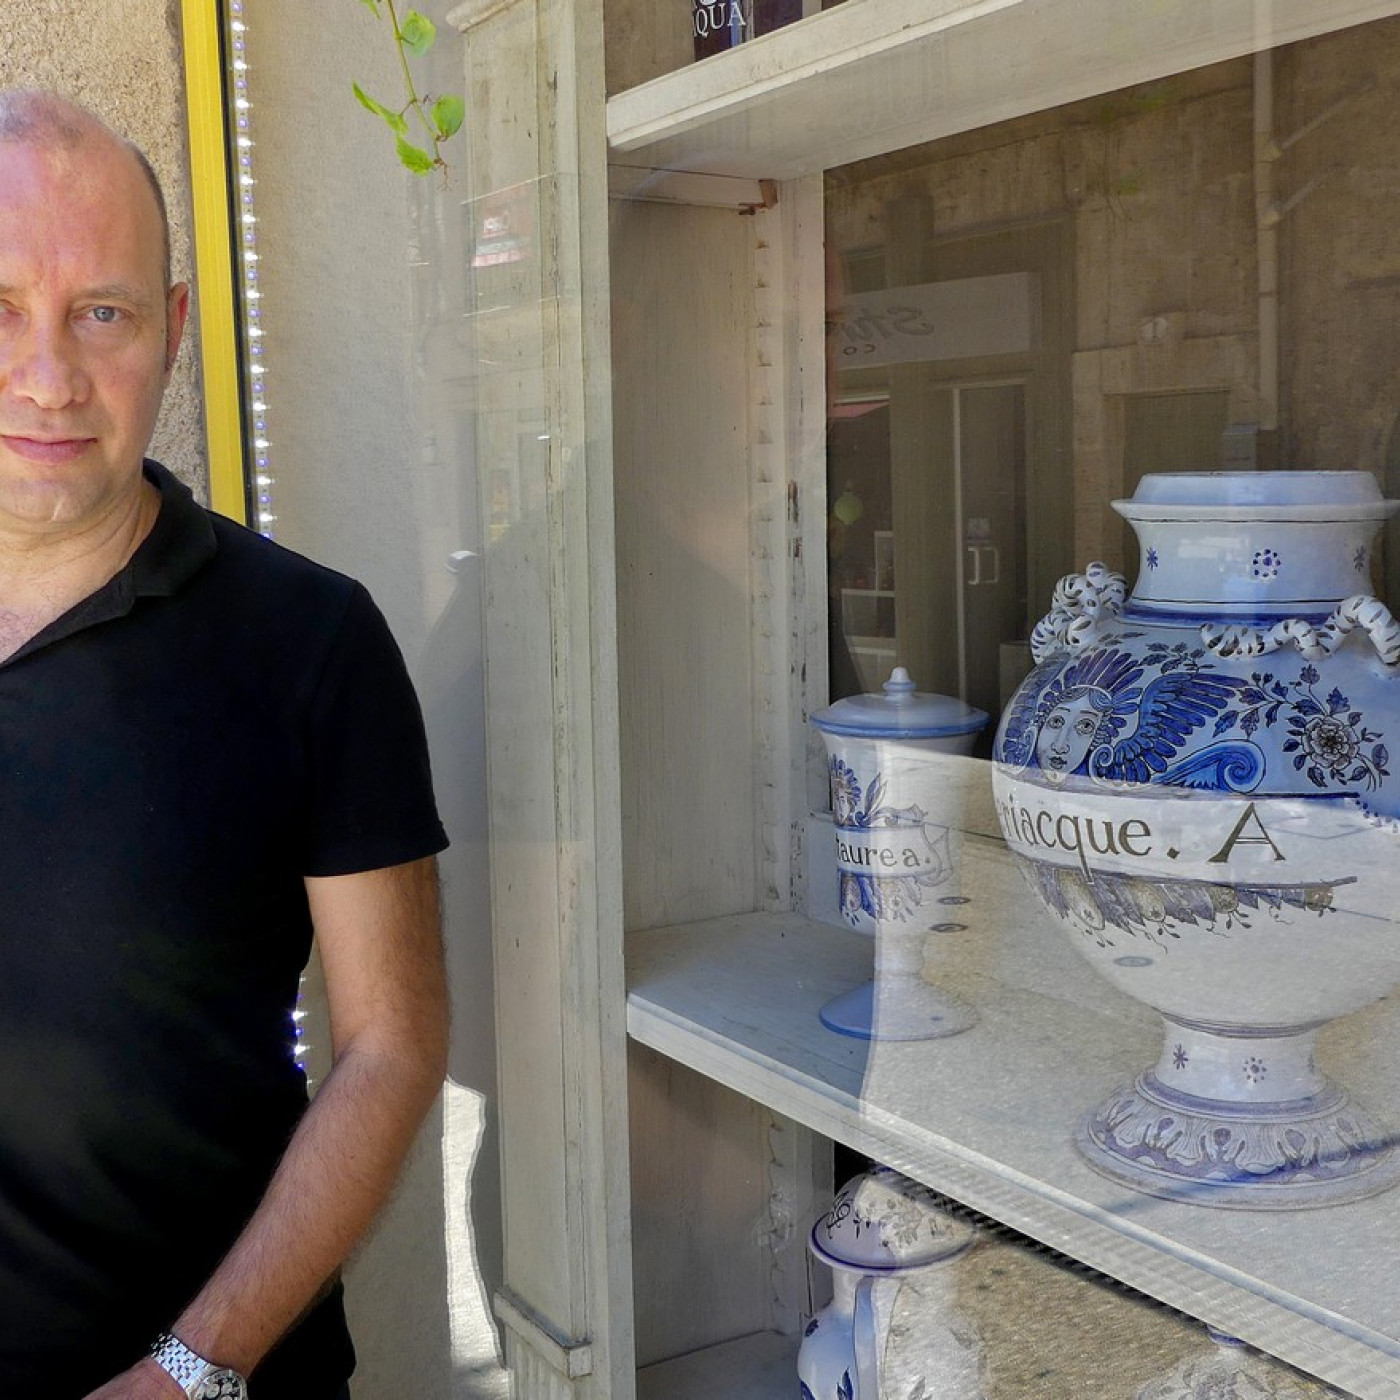
Like most handmade businesspeople, Siffre’s business has several income streams. The first is retail sales through his shop. He also sells a lot of his wares to pharmacists who love to collect these newly made “old” apothecary jars. In my photo of Siffre, he is standing by a pharmacy that has collected many of his pieces.
Another source of income is the sale of large works to businesses and the government. These items get used as gifts to world leaders visiting France. Lastly, he works with the architects of the historic castle of Versailles.
Siffre’s work is deemed “faïence parlante” because the jars are decorated with mottos written on decorative labels and banners. The jars were used by early pharmacies for storing herbs and medicinal plants and the decorations bear the names of the contents, generally in Latin.